
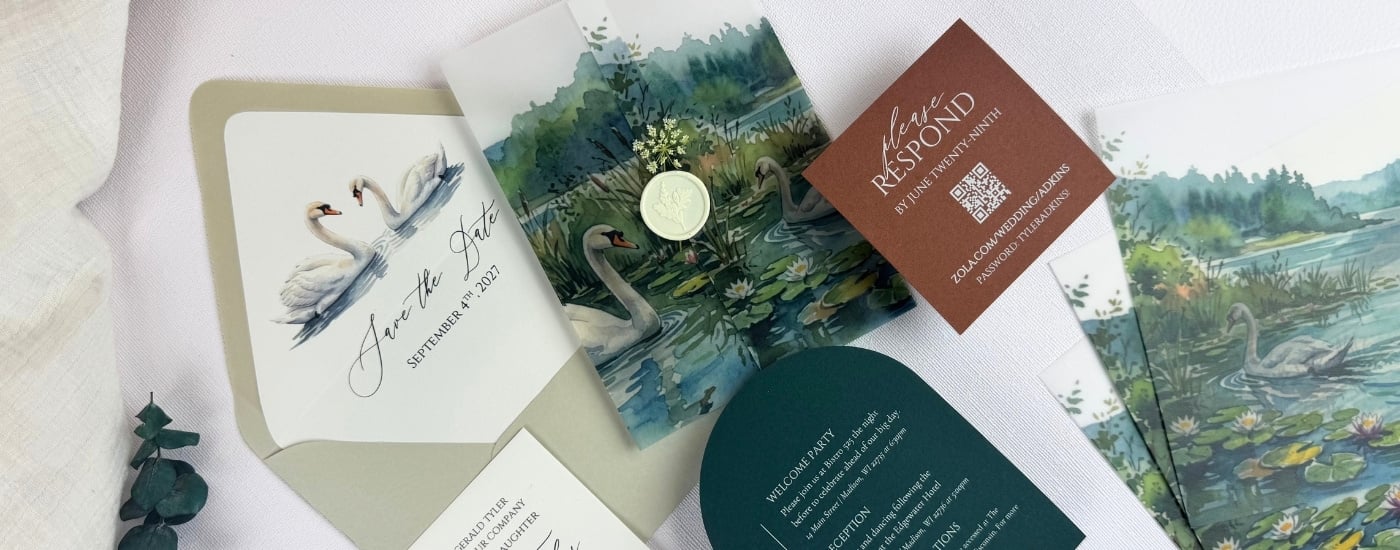
How to Fold Vellum Wraps (+ Best Ways to Secure Them)
Who doesn’t love the look of a beautifully wrapped invitation suite? A vellum wrap adds a touch of chic elegance while keeping your invitation pieces neatly together. And with LCI Paper, creating the look is easier than you might think!
LCI Paper’s translucent vellum invitation wraps come blank or can be professionally printed with your design.
They’re available in three standard sizes to complement popular invitation formats:
- A2 Wrap: 5 1/2″ x 9 1/2″, designed for A2 cards (4 1/4″ x 5 1/2″)
- A7 Wrap: 7″ x 11″, designed for A7 cards (5 1/8″ x 7″) but will fit 5″ x 7″ cards
- A9 Wrap: 8 1/2″ x 12″, designed for A9 cards (5 1/2″ x 8 1/2″)
Each wrap includes a small overlap when used with the corresponding card size for a secure wrapping.
Why Are LCI Vellum Wraps Unscored?
LCI Paper’s vellum wraps arrive flat and unscored. Rather than locking you into a pre-creased fold, this design lets you adjust the placement of your folds based on the thickness and number of pieces in your invitation suite.
For example, an A7 wrap can accommodate an LCI standard A7 card, a 5″ x 7″ card, or a thicker invitation suite. The more pieces you add, the more you may need to adjust where the wrap overlaps.
That flexibility also means you’ll be doing the folding by hand. As a result, small adjustments may be necessary to achieve the alignment you want. Printing can also shift slightly from one print run to another, so don’t worry if your first fold needs a little fine tuning.
For the most precise setup, LCI recommends using its free vellum wrap print templates when preparing your artwork. Templates are currently available for A2, A7, and A9 vellum wraps in InDesign, Word, and PDF formats. and can be found under the Folded Card section.
Download LCI Paper’s free print templates →
To get the best possible results, we recommend also following our Guide for Setting Up Printed Vellum Wraps.
How to Fold Vellum Wraps
Folding vellum wraps may be a little daunting but it’s pretty simple when working with the right methods and tools. The key is to work slowly and keep your card securely centered. And we love using a bone folder to help get those clean crisp lines.
Step 1: Prepare Your Materials
Place your flat vellum wrap on your work surface. If your wrap has been printed, place it print side down. Then, place your invitation card printed side up in the center of the wrap.
Step 2: Center Your Card
Position the card so it sits evenly in the middle of the vellum. A ruler can help you check the measurements and keep everything centered before you begin folding.
Step 3: Fold the Right Flap
Hold the card securely in place. Starting at the center of the right side, pull the vellum flap tightly over the card until the fold sits flush against the card’s edge. Smooth the rest of the flap down.
Step 4: Fold the Left Flap
Keep the newly folded side in place and make sure the card remains flush against the vellum fold. Next, pull the left flap tightly over the card until it meets the edge of the card. Smooth the flap down.
Step 5: Adjust and Secure
Take a moment to check the alignment. If necessary, make small adjustments to the folds until the wrap sits neatly around your invitation. Once everything looks right, secure the overlapping flaps using your preferred method.
And that’s it! Now comes the fun part, choosing how you want to finish your invitation suite.
Tips for Folding Your Vellum Wraps
A few simple tools and techniques can make a big difference when you’re folding multiple wraps.
- Check the print direction first – If your wrap features a design, make sure it faces the correct direction before you start folding.
- Use a ruler as a guide – A straight edge can help you center your card and keep your folds consistent.
- Center before you crease – Take an extra moment to check your measurements before committing to a fold.
- Hold the card firmly – A secure grip helps prevent the card from shifting while you pull each flap into place.
- Use a bone folder – Once you’ve positioned the fold, a bone folder can help create a crisp, clean crease.
- Make small adjustments – Because the wraps are unscored, you can position the folds where they work best for your particular invitation suite.
- Practice before assembling your full order – If you’re working with a new card size, paper combination, or suite thickness, try folding one wrap first. This gives you a chance to find the ideal fold placement before assembling the rest.
Don’t have a bone folder? Try using your hands, a plastic credit card, or the back of a spoon to smooth down your flaps.
Best Ways to Secure Your Vellum Wrap
Once your wrap is folded, you have plenty of ways to finish the look. Your choice of closure can be as simple or decorative as you like. Below we’ve listed some of the most popular options we’ve found to work great and look good doing it.
Wax Seals
For a classic, elevated finish, try a wax seal. You can use a traditional handmade wax seal or a premade self-adhesive wax seal.
Ribbon
Ribbon adds softness and a romantic touch to a wrapped invitation. It also gives you an easy way to introduce another color or texture into your stationery suite.
Twine or String
For a more organic or minimalist look, tie your wrap with twine or string.
Double-Sided Adhesive Dots
If you want a clean, glue-free option, double-sided adhesive dots are an easy choice. LCI’s adhesive dots are designed for vellum overlays, envelope liners, and other invitation layers, and they provide a quick bond without drying time.
Double-Sided Tape
Double-sided tape offers another straightforward way to secure the overlapping flaps without adding a decorative element.
Zip Dry Paper Glue
Zip Dry is another option for securing paper and vellum as it’s a quick-drying, wrinkle-free paper adhesive. However, because vellum is translucent, adhesive can sometimes remain visible even when it dries clear. LCI’s own testing found that Zip Dry was more noticeable on darker invitation cards than on lighter ones. You can find example photos here.
For that reason, less is more when working with any adhesive. Start with a very small amount and test your chosen combination of vellum and card before assembling your entire suite.
Belly Bands or Invitation Bands
A belly band or invitation band can also hold your suite together while adding another design element. LCI offers printed and blank options for invitation bands as well as vellum wraps.
Lace
For a romantic, vintage-inspired look, lace can add texture and visual interest to your wrap.
Mix and Match
Of course, you don’t have to choose just one. Combining two finishing details can create a more personalized look. Ribbon and a wax seal, for example, make a beautiful pairing for wedding invitations and other special-event stationery.
A Few Final Tips Before You Assemble
If you’re assembling a large batch of invitations, consistency matters. Before folding all of your wraps, take a few minutes to establish your ideal fold placement using one sample.
Then, once you’ve found the right position, use the same process for the rest of your suite. A ruler can help you maintain consistency, while a bone folder will give each fold a clean, polished finish.
And if you’re printing your own vellum wraps, start with LCI’s free templates. They provide the correct file dimensions for the available wrap sizes and can help simplify the setup process.
Vellum wraps may look effortlessly elegant, but getting that polished finish comes down to a few simple details: center your card, fold carefully, crease cleanly, and choose a closure that complements your design.
Whether you finish your suite with a wax seal, ribbon, twine, adhesive, or a combination of details, LCI Paper’s flexible, unscored vellum wraps give you room to create the look you love.
So grab your vellum, your invitation, and a ruler, and let’s get wrapping!
You may also like:
How to Set Up Printed Vellum Wraps | How to Print on Vellum | Tips for Vellum Liners