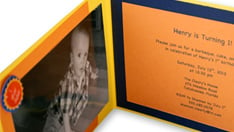
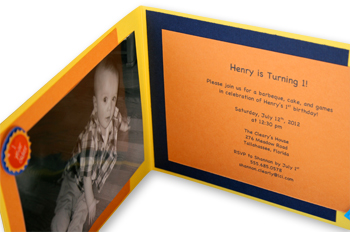
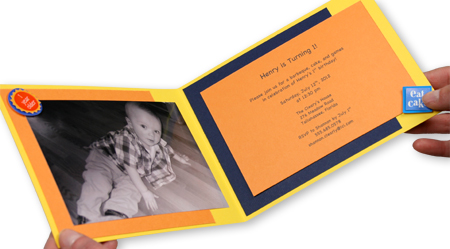
In this article you will learn how to replicate the fun and colorful birthday booklet invitation pictured here. To make it easy to customize, print, and assemble this invitation at home, you will find detailed instructions, photos, a Word template, and a list of materials below.
Whether you are looking to replicate the invitation pictured here, or simply want to use the following instructions as a starting point for a unique photo invitation of you own, read on to learn how!
Materials for Photo Booklet Invitation
- Gmund Colors Crocum Book Fold Card or Other 5 1/8 x 7 Book Fold Card
- 8 1/2 x 11 Pop-Tone Orange Fizz Text Paper or Other 8 1/2 x 11 Specialty Paper
- 8 1/2 x 11 Gmund Colors Pelagus Text Paper (or Preferred Color)
- 4 x 6 Photo
- Paper Trimmer or Preferred Cutting Tool
- Adhesive or Double Sided Tape
- Decorative Craft Stickers (optional)
1 – Cut 8 1/2 x 11 Sheets Into Individual Invitation Layers
As shown below, your book fold card will come pre-cut and pre-scored, so no additional handling is necessary. However your 8 1/2 x 11 sheets will need to be cut into the dimensions shown below
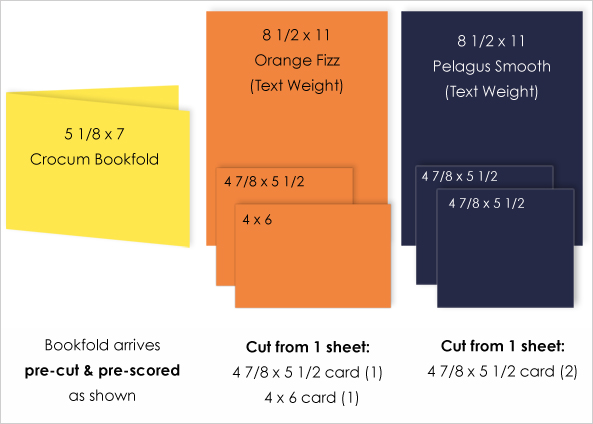
One 8 1/2 x 11 sheet of Orange Fizz yields
- One 4 7/8 x 5 1/2 inch decorative layer
- One 4 x 6 inch invitation card
One 8 1/2 x 11 sheet of Pelagus Smooth (Navy) yields
- Two 4 7/8 x 5 1/2 inch decorative layers
Cut the 8 1/2 x 11 sheets as instructed using a paper trimmer or other preferred cutting tool.

2 – Download Microsoft Word Template for 4 x 6 Card
Now that you have your invitation components, you are ready to customize your invitation for your event. Download Your Free Microsoft Word Template to Print Your 4 x 6 Invitation Cards
- Word document is correctly sized at 4 x 6 inches
- Document includes sample wording in basic Arial font
3 – Customize Invitation Document
Customize your document by experimenting with various invitation wording, fonts, sizes, and colors. Once you are satisfied with the appearance of your invitation card, all there is left to do is print.
4 – Print Invitation Layers
For detailed information on printing custom sized invitations using your home computer and printer, please view the following video:
Video: Printing Invitations With Your Home Computer & Printer
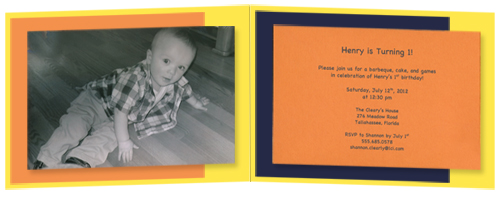
5 – Adhere 4 7/8 x 5 1/2 Inch Decorative Layers to Book Fold Card
Next, use glue or double sided tape to adhere two decorative layers to the inside of the book fold card.
- Adhere a 4 7/8 x 5 1/2 Orange Fizz Decorative layer on the left
- Adhere a 4 7/8 x 5 1/2 Pelagus Decorative layer on the right

6 – Adhere 4 x 6 Photo & Invitation Layers to Book Fold Card
- Adhere a 4 x6 photo on the left
- Adhere 4 x 6 invitation card on the right
7 – Embellish with Decorative Craft Stickers
If you’d like, embellish your card with decorative stickers. You can find these at any local craft store.
Have you created an invitation with a book fold that you would like to share? If so, submit it to our Share Your Creativity program. We’d love to see it!